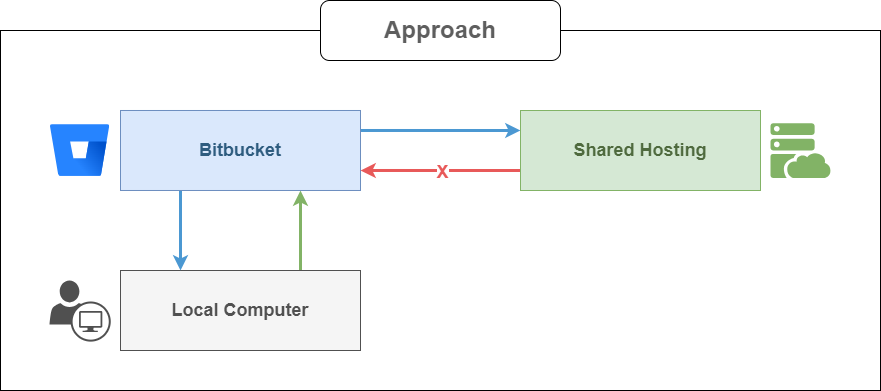
To keep things simple and secure, the goal is to connect your shared hosting to a single Bitbucket repository using SSH. This setup ensures that the shared hosting server can only read from that specific repository, keeping access limited and manageable.
Stage 1: Accessing the shared hosting terminal
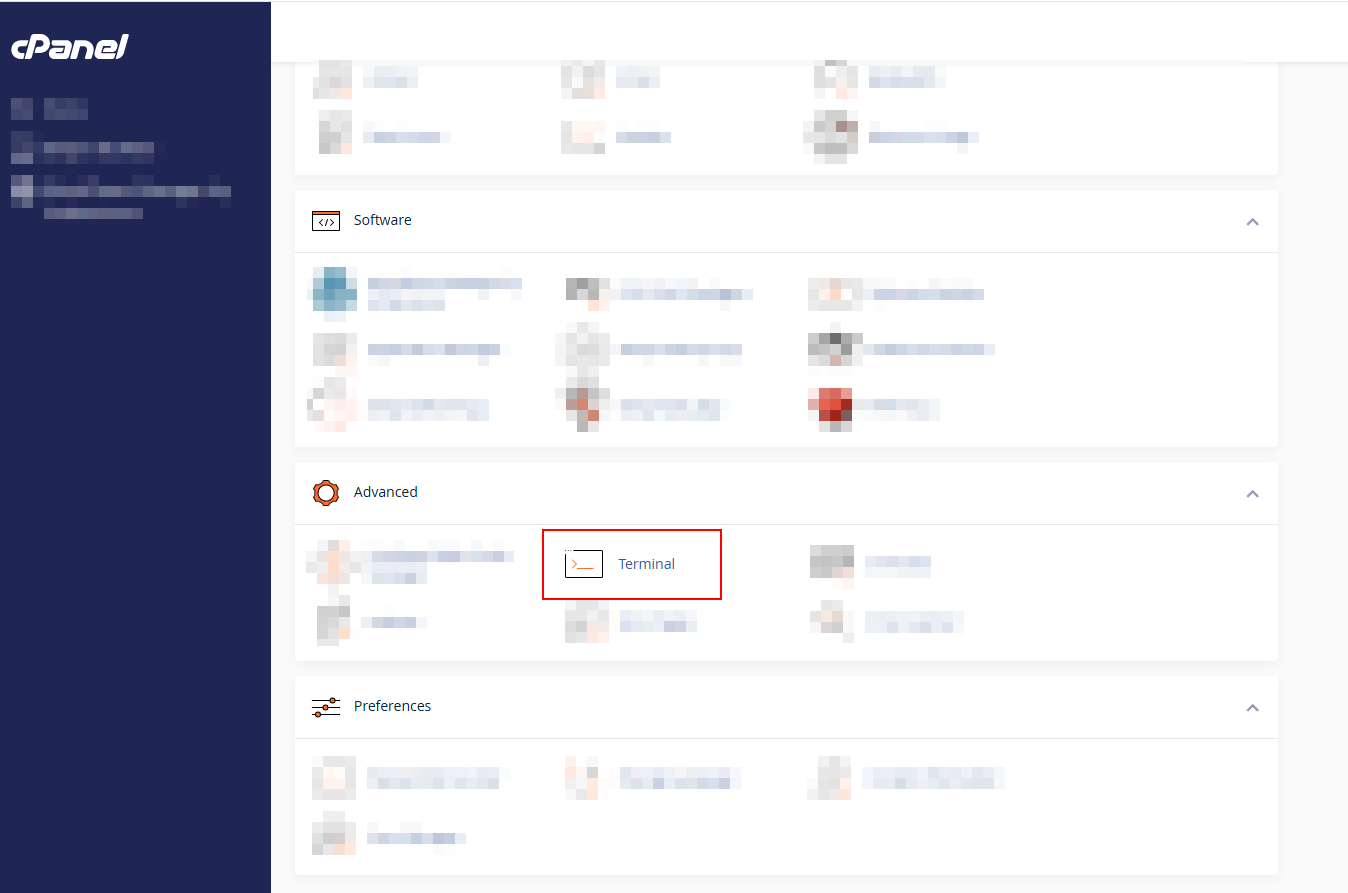
In your cPanel, go to the Terminal page by following the steps shown in the screenshots below. Once you’re there, ensure you’re in your main directory to get started.
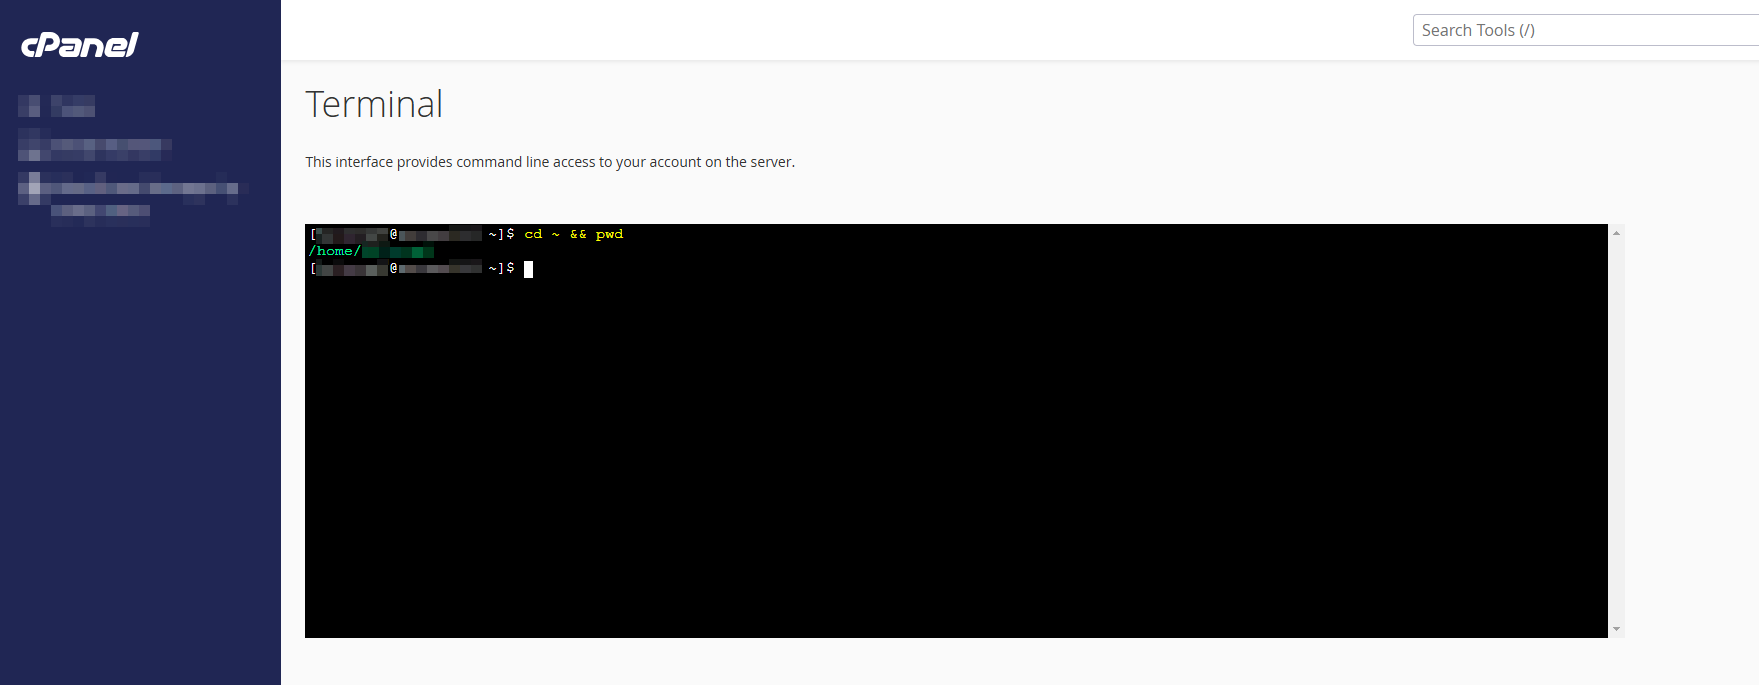
cd ~ && pwdStage 2: Generating the SSH Keys
At this stage, we’ll create our SSH keys without a passphrase to keep things simple.

ssh-keygen -t rsa -b 4096 -C "bitbucket_key" -f ~/.ssh/bitbucket_key -N ""chmod 600 ~/.ssh/bitbucket_keyStage 3: Configuring SSH for Bitbucket
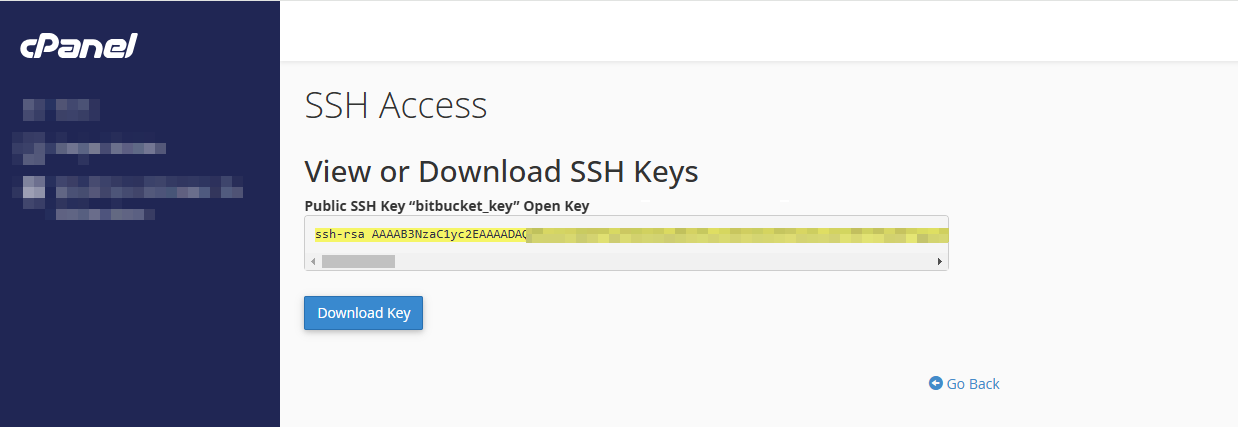
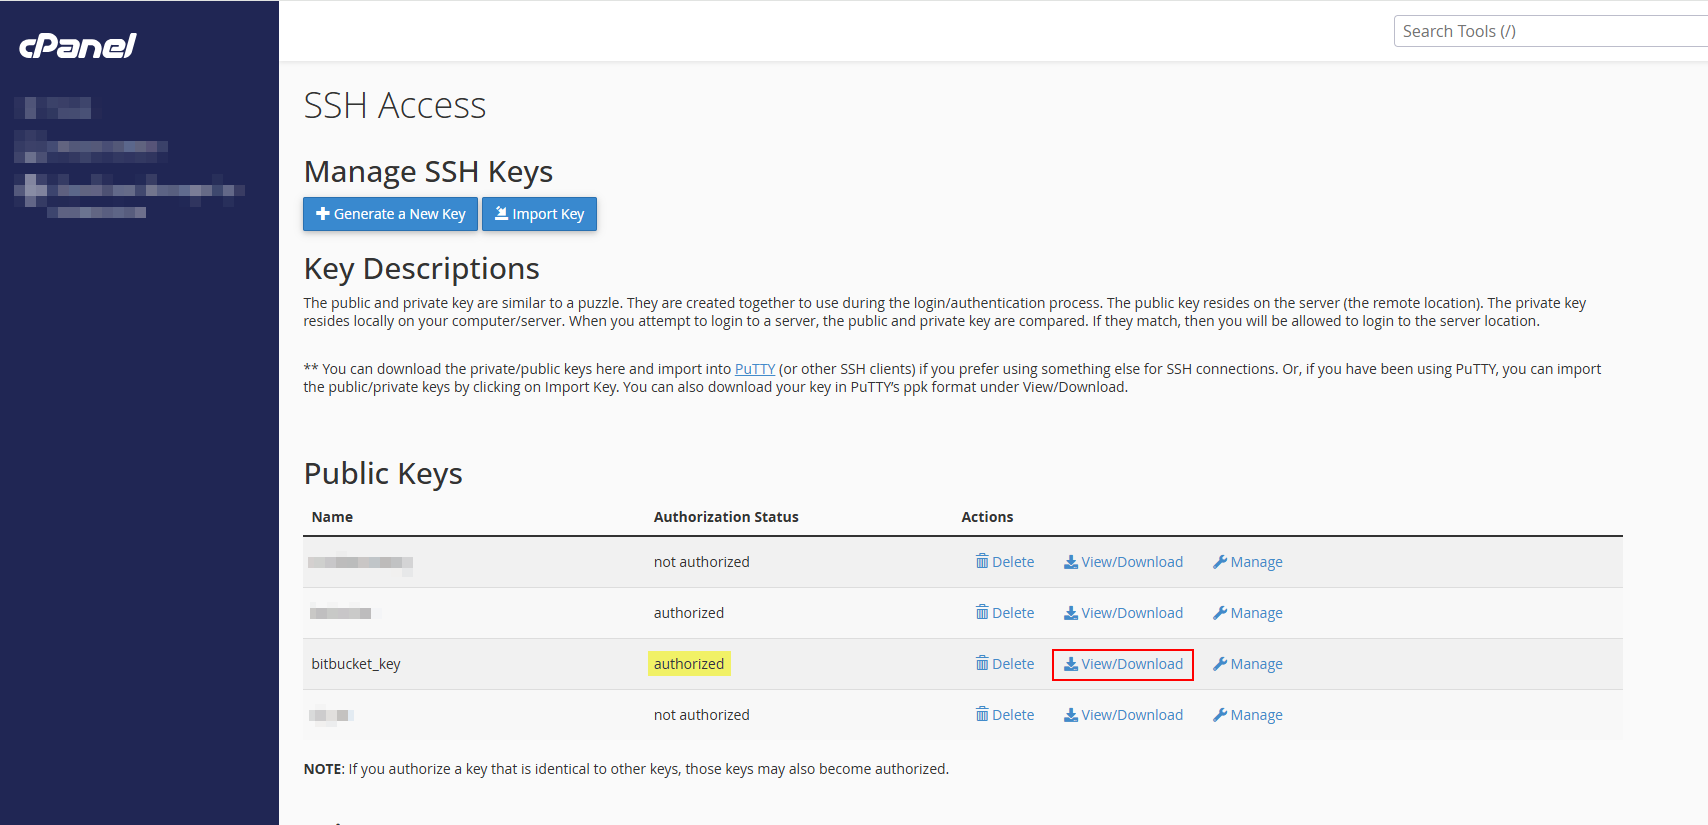
Now, let’s configure the SSH for our shared hosting to connect with Bitbucket and then obtain the access key.
nano ~/.ssh/config# Configuration for Bitbucket
Host bitbucket.org
User git
IdentityFile ~/.ssh/bitbucket_key
IdentitiesOnly yes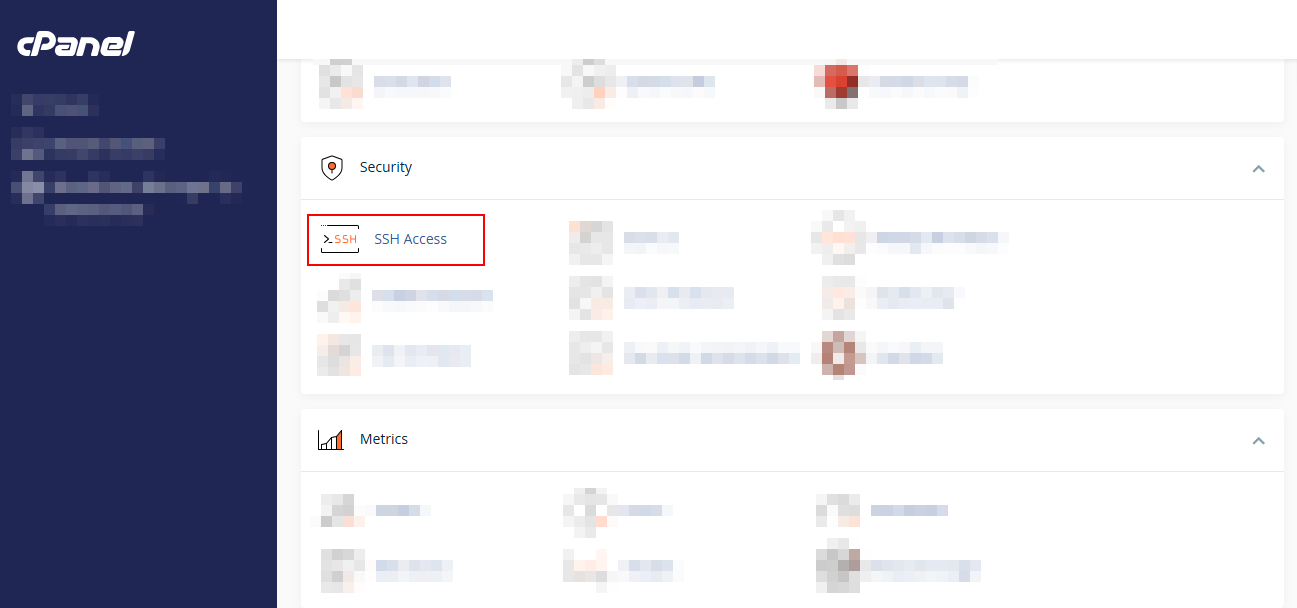
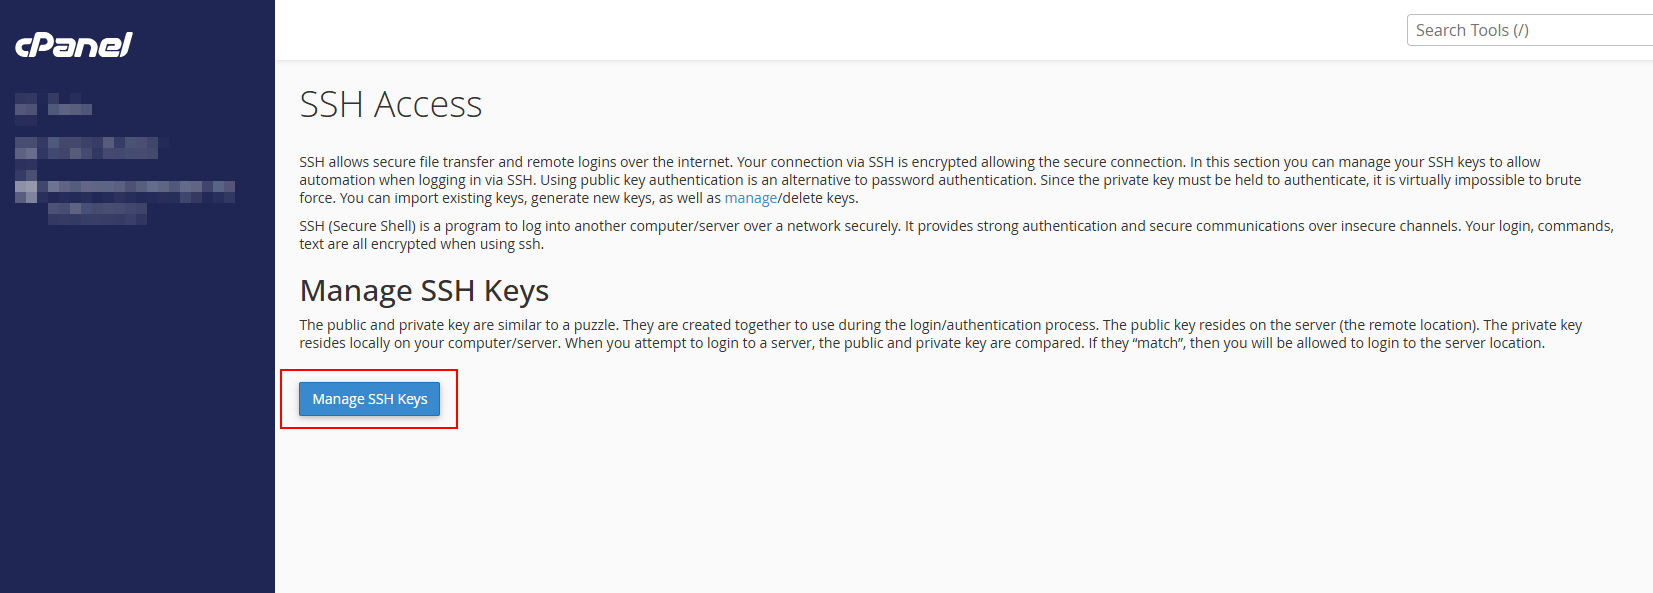
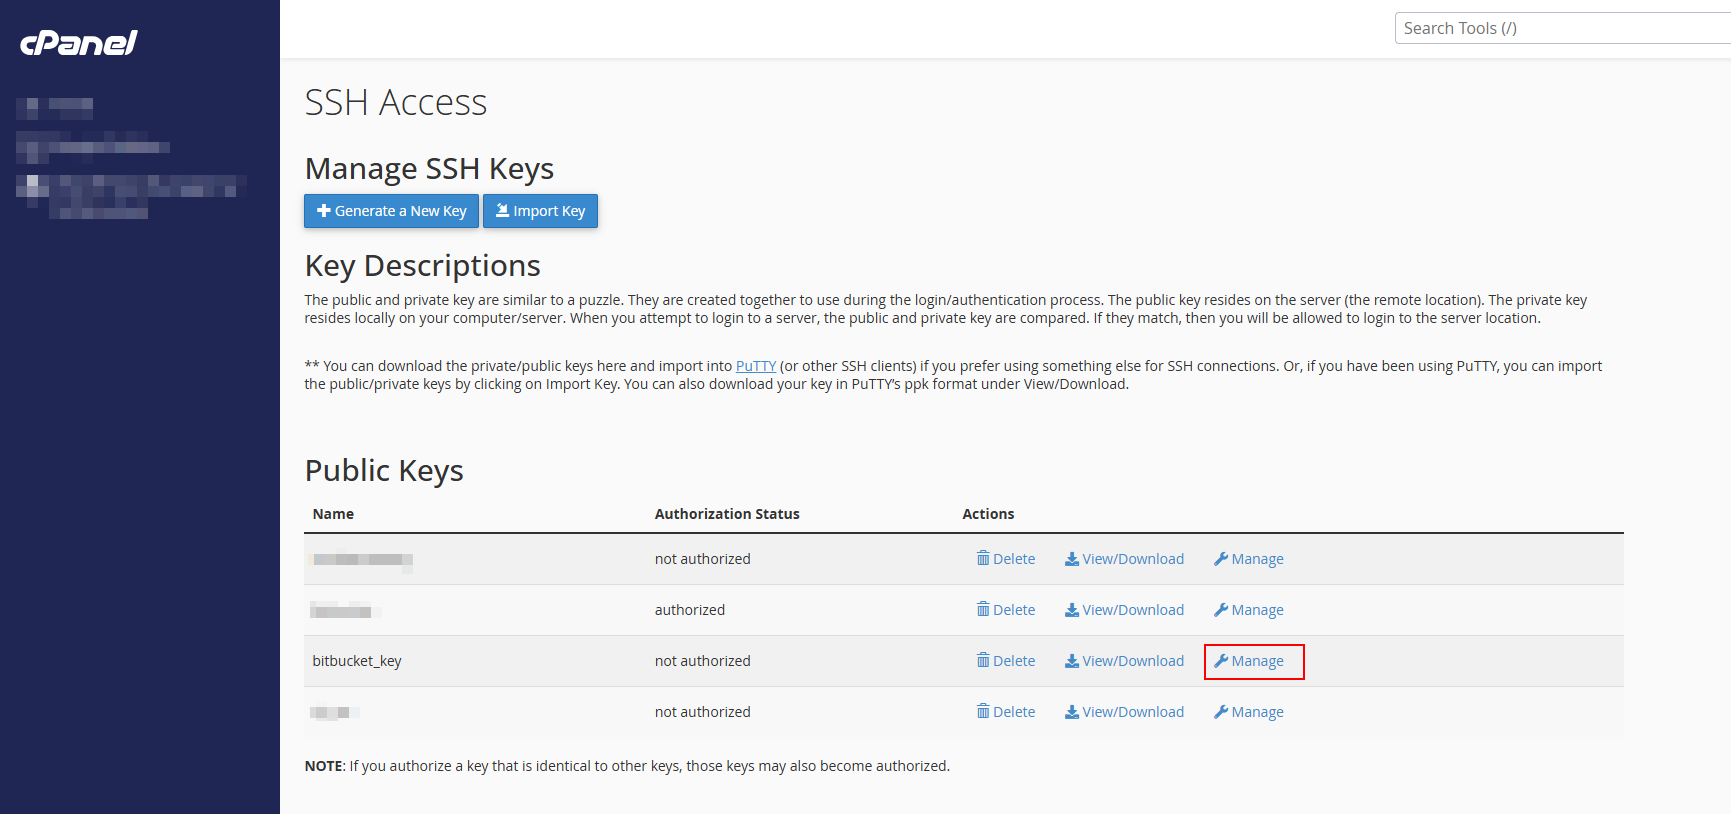


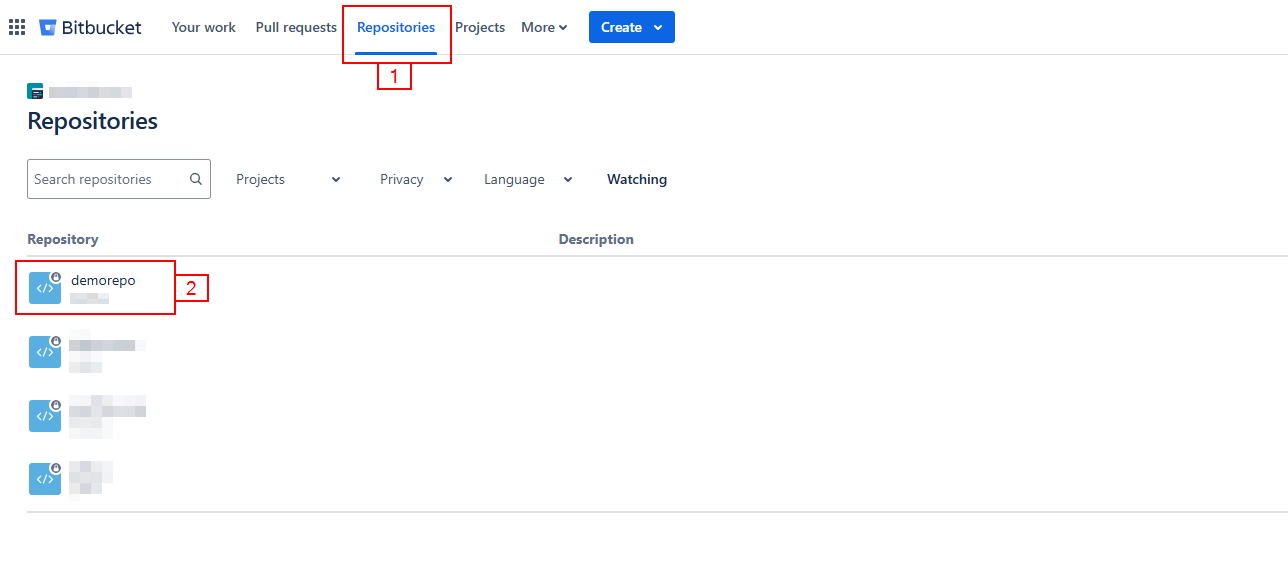
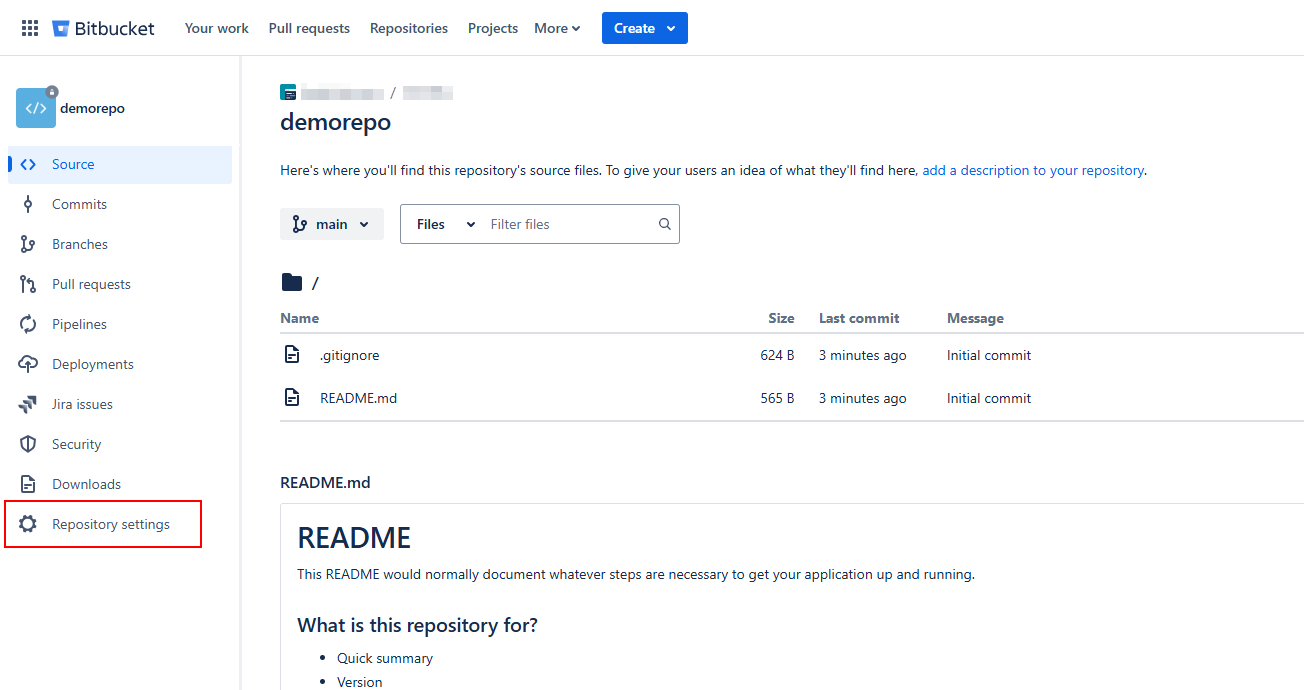
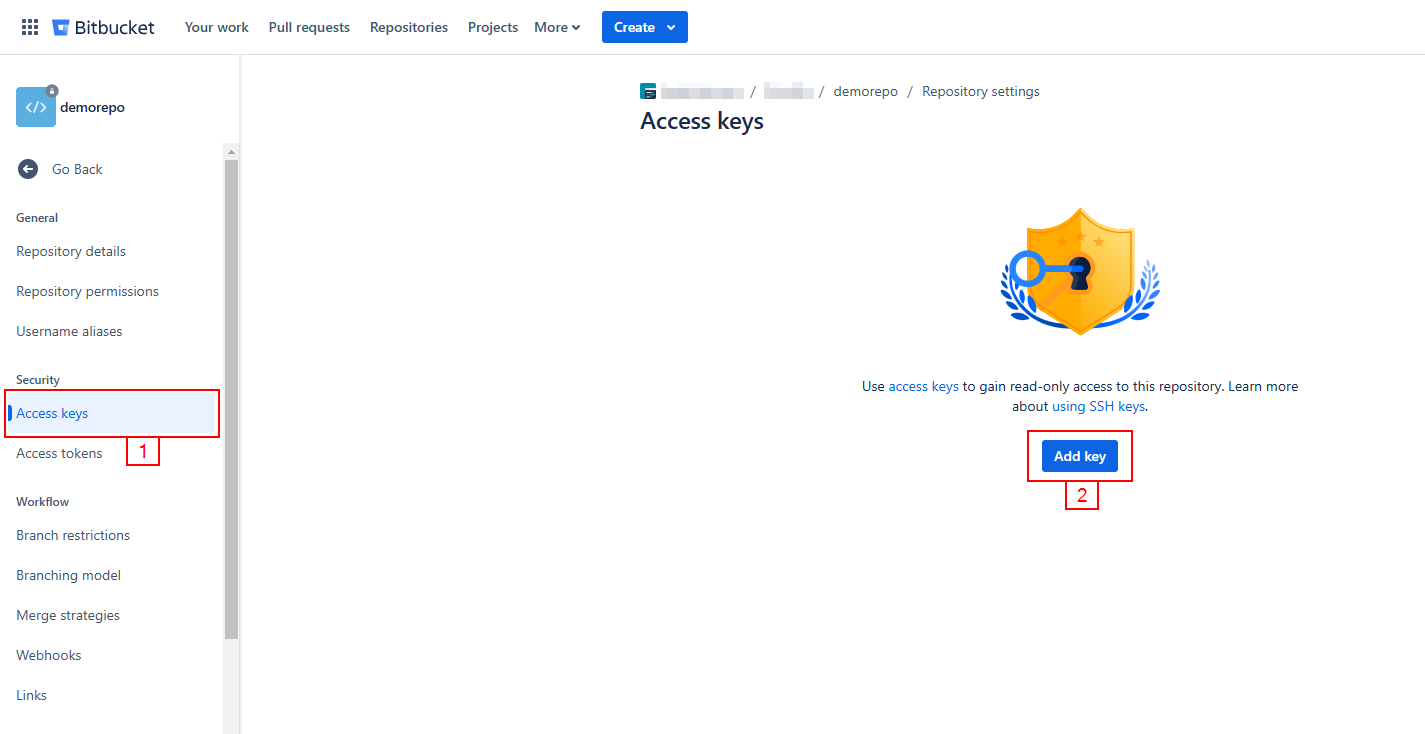
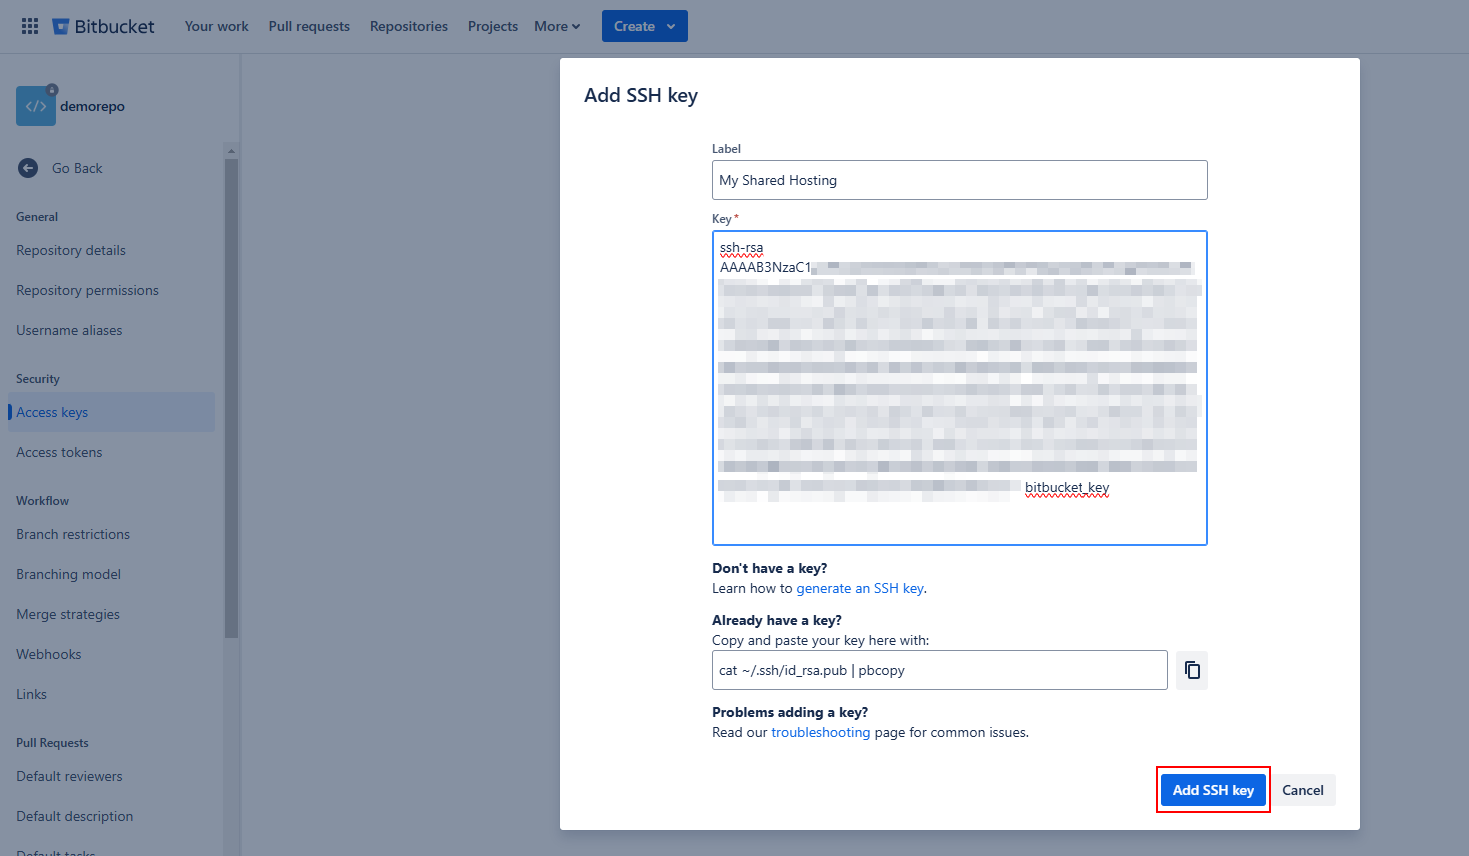
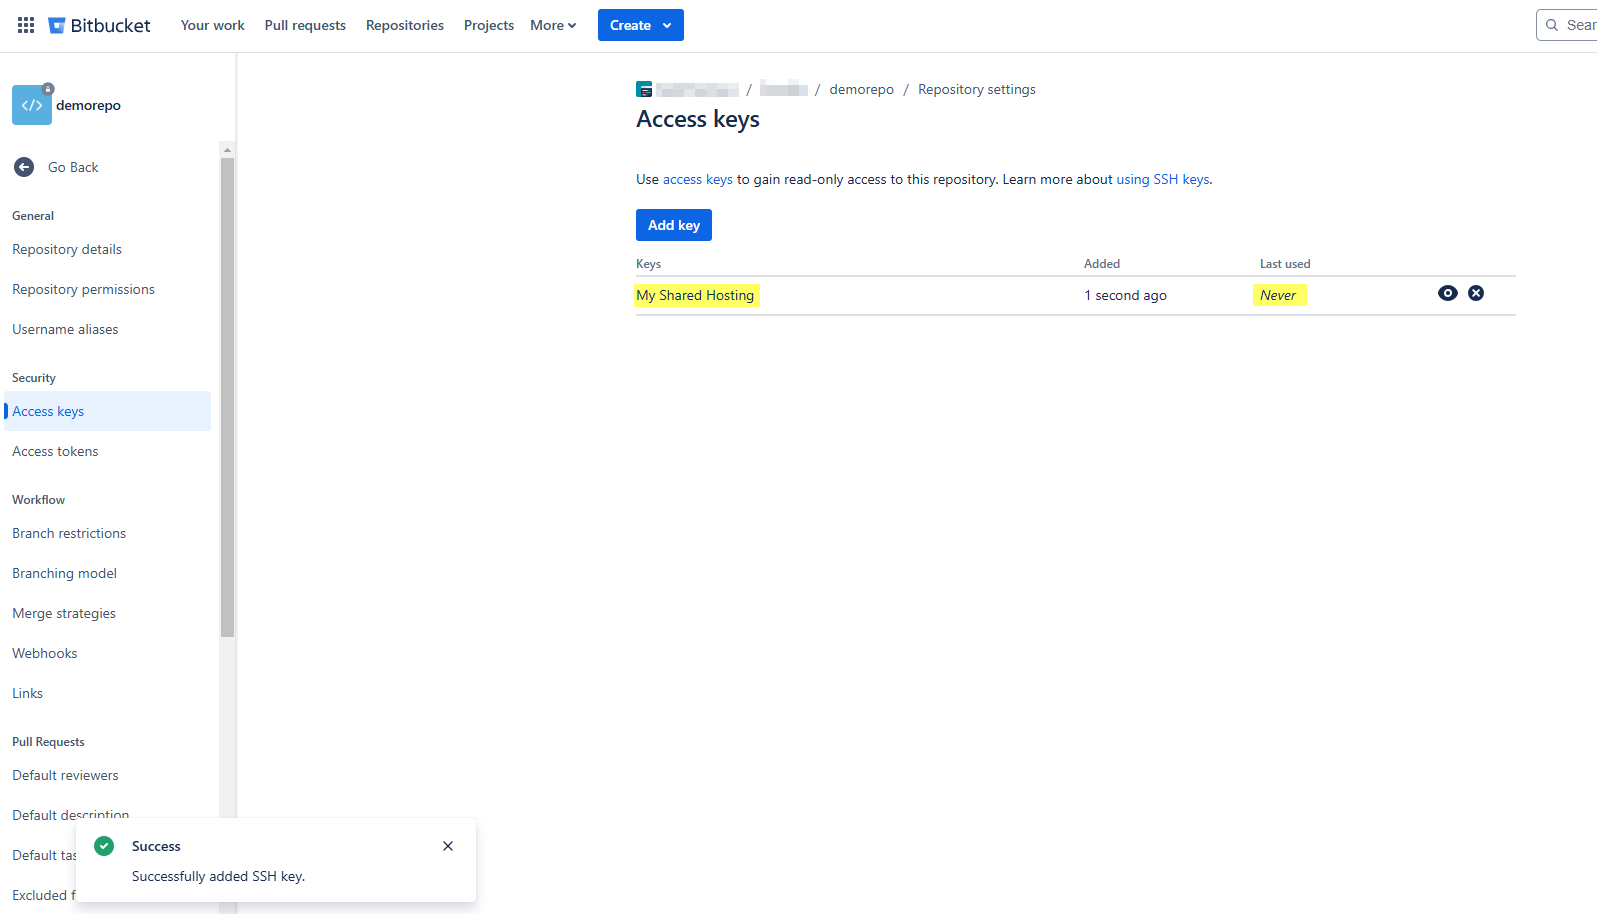
Stage 4: Adding the key to Bitbucket
The goal at this stage is to add the access key we copied in Stage 4 to the repository’s access keys.
Stage 5: Checking the connectivity
ssh -T git@bitbucket.org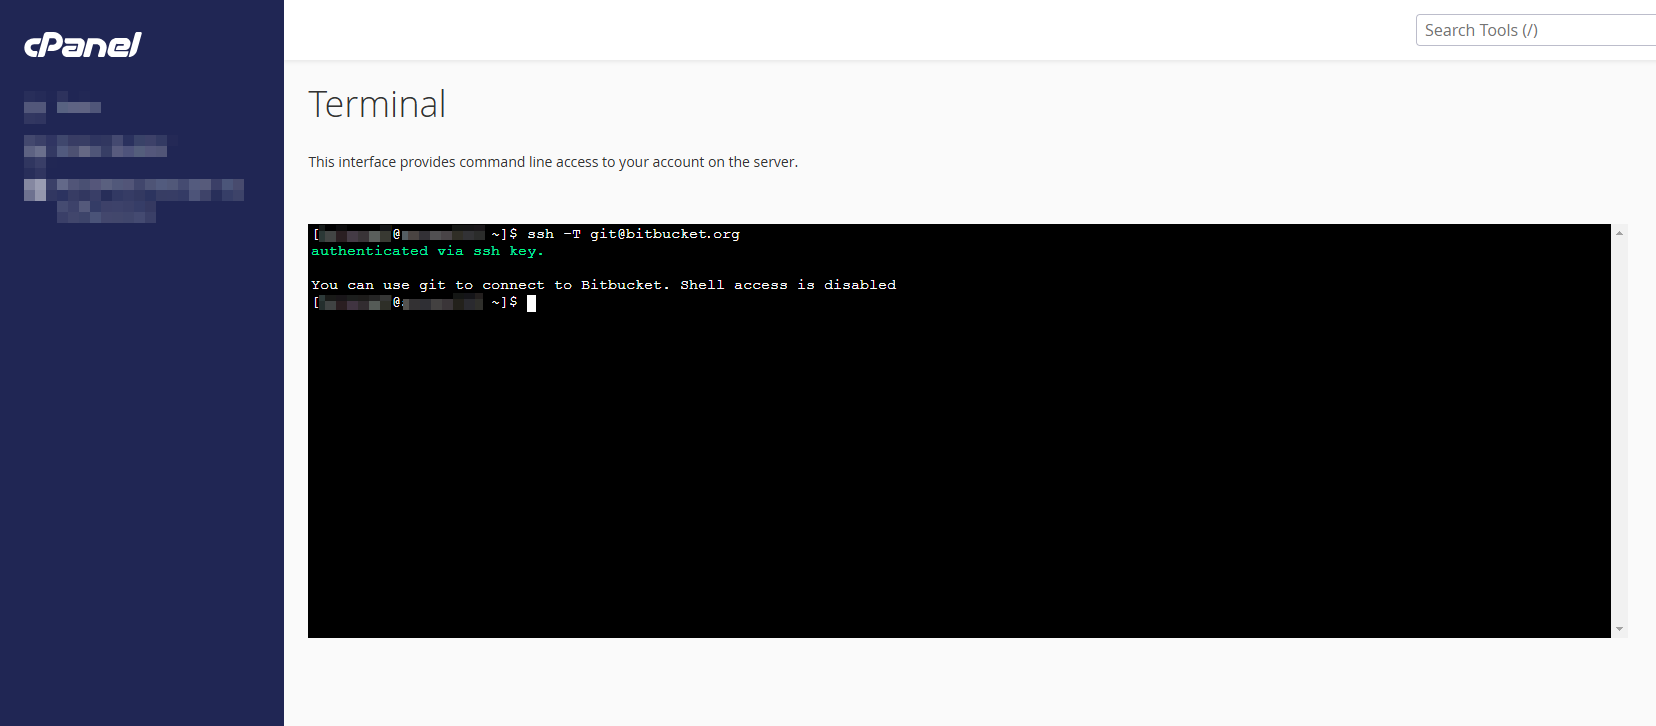
Stage 6: Cloning & updating the repository on the shared hosting
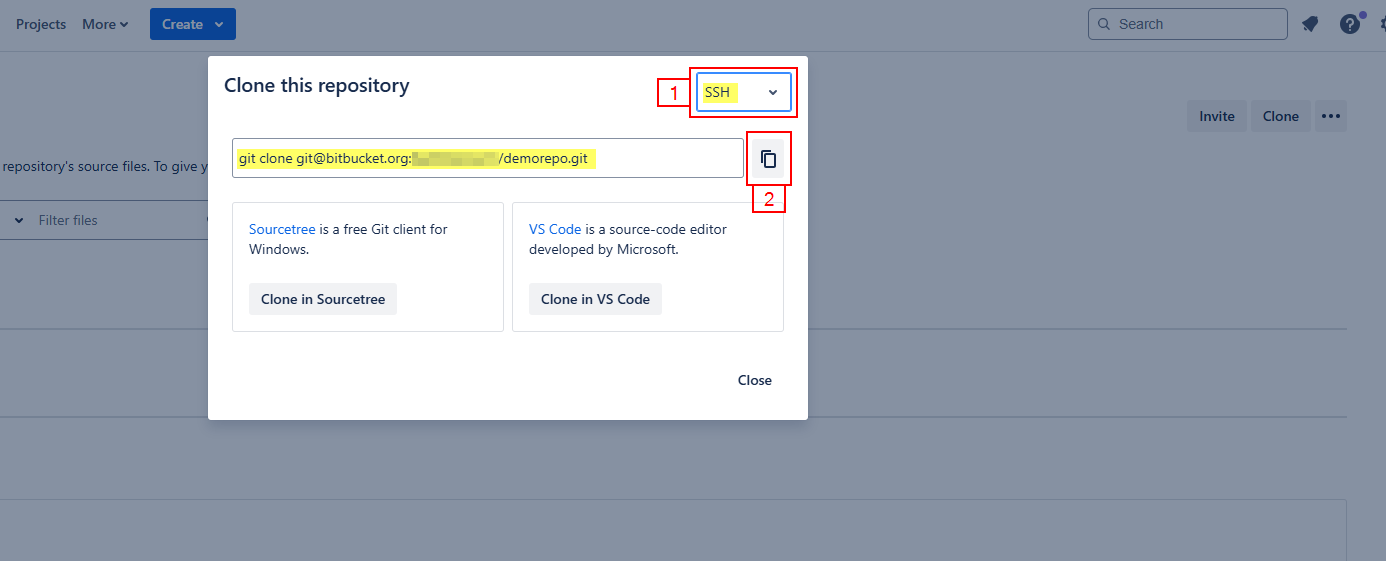
After copying the SSH command to clone the repository from Bitbucket, on the terminal, we’ll change the directory to ‘directory-name’ (in my case, it’s demorepo.com). Finally, whenever there are new updates in the Bitbucket repository, we’ll pull the latest changes into our shared hosting.
git clone git@bitbucket.org:<username>/<repository-name>.git "directory-name"cd directory-namegit pull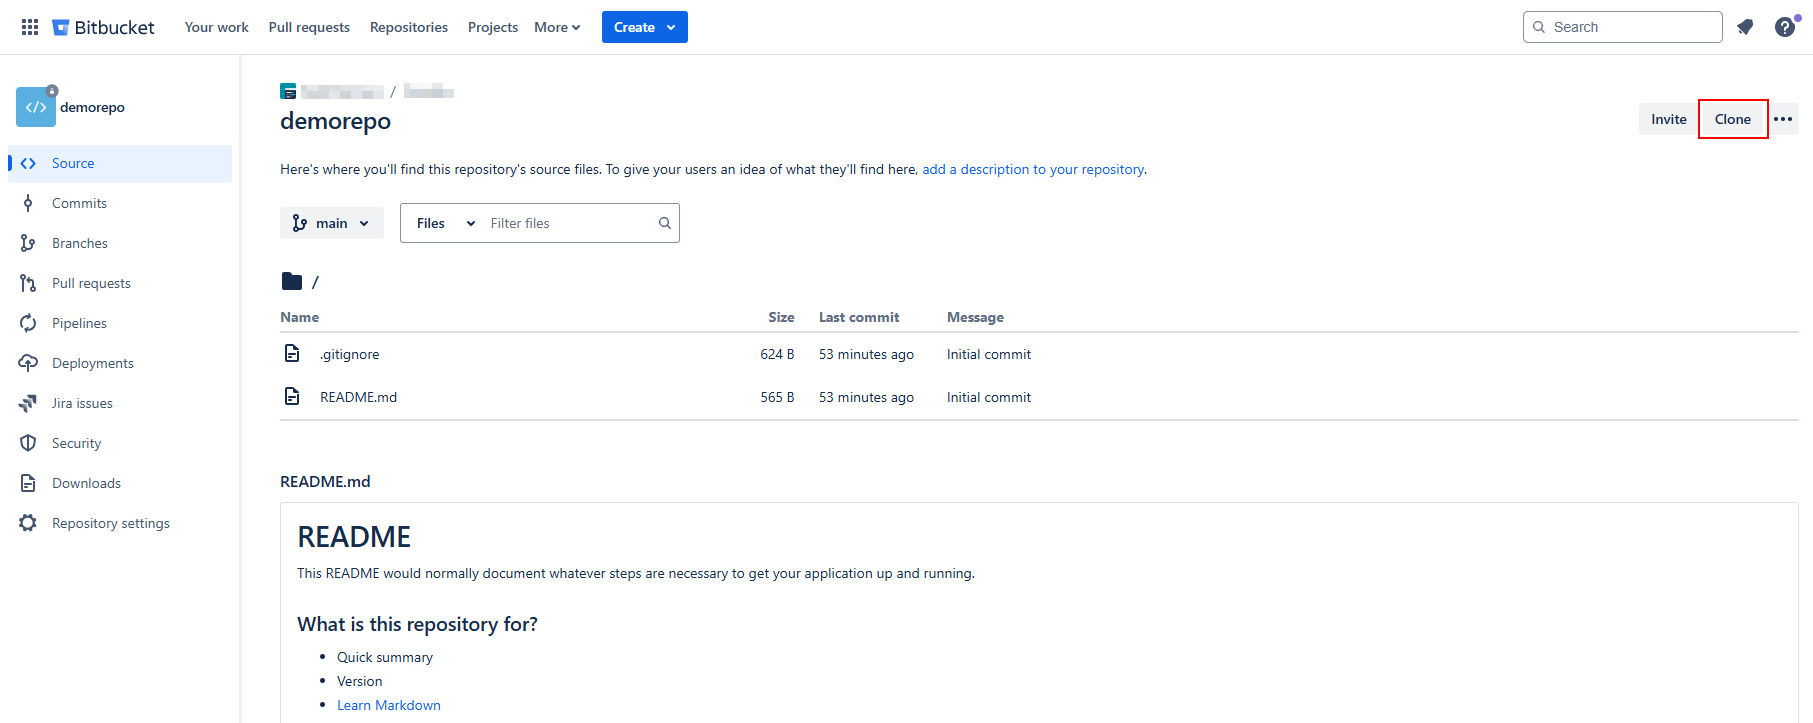

Stage 7: Automatically Deploying changes to the shared hosting
See the tutorial: How to securely deploy from Bitbucket to shared hosting